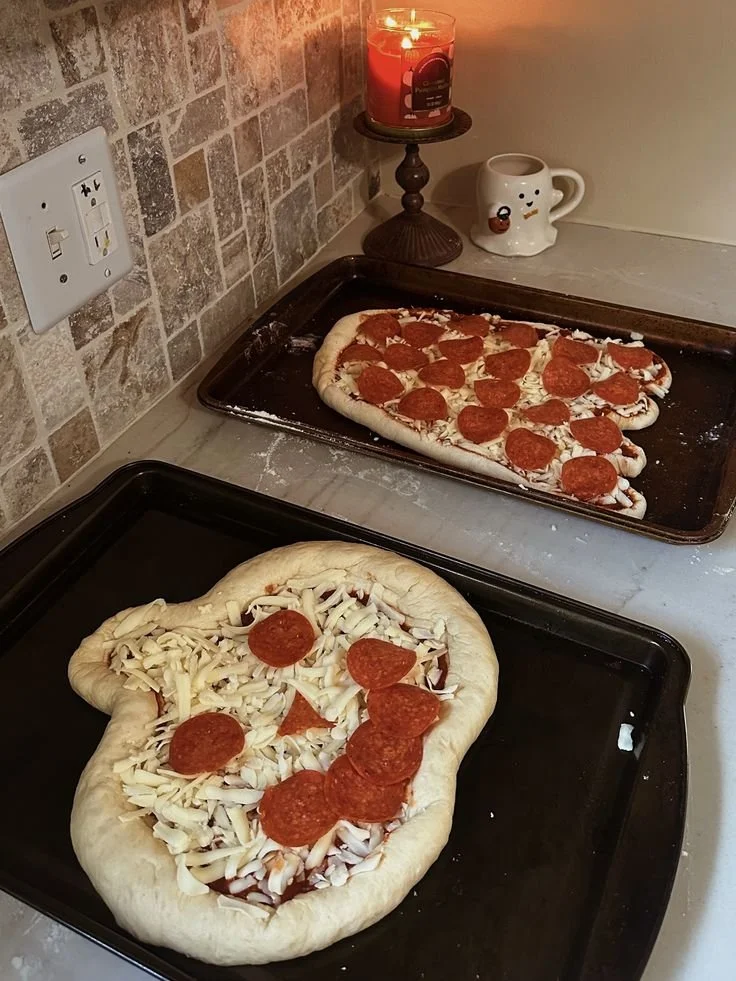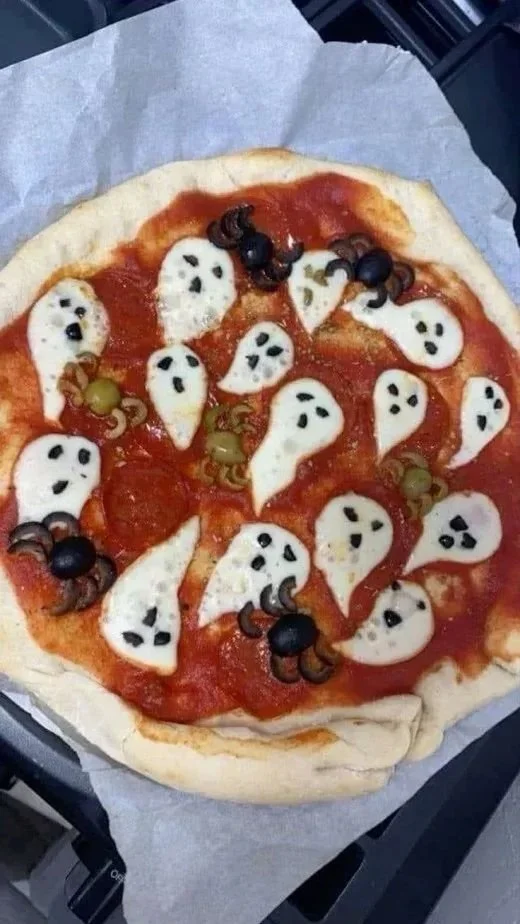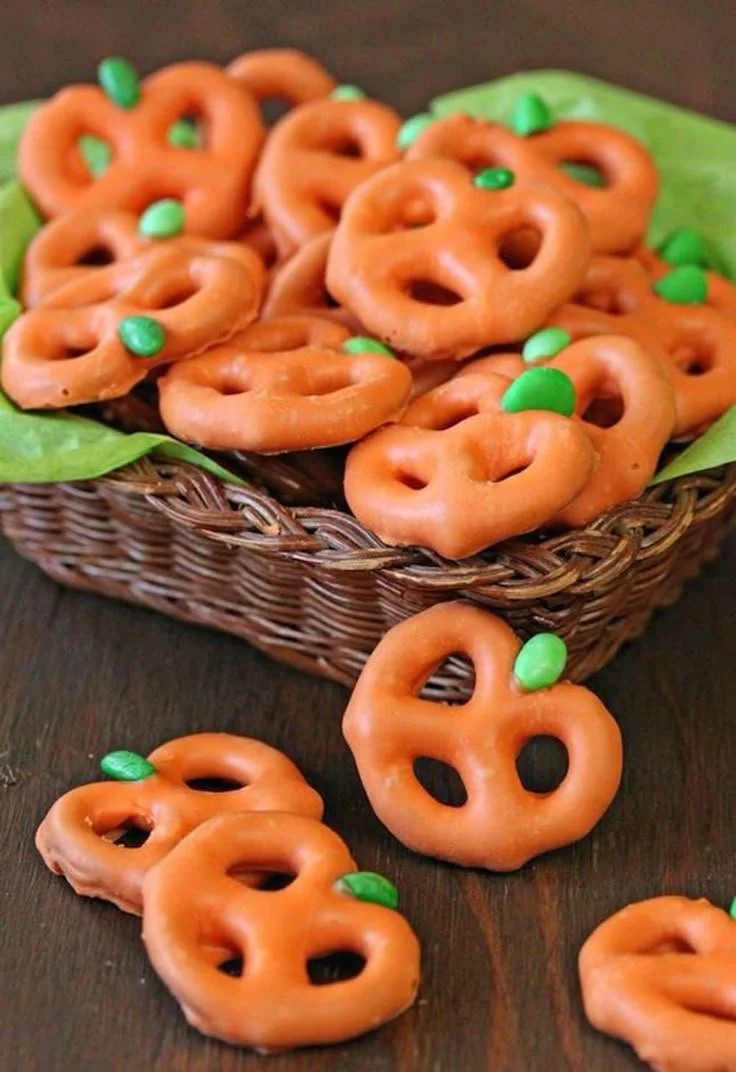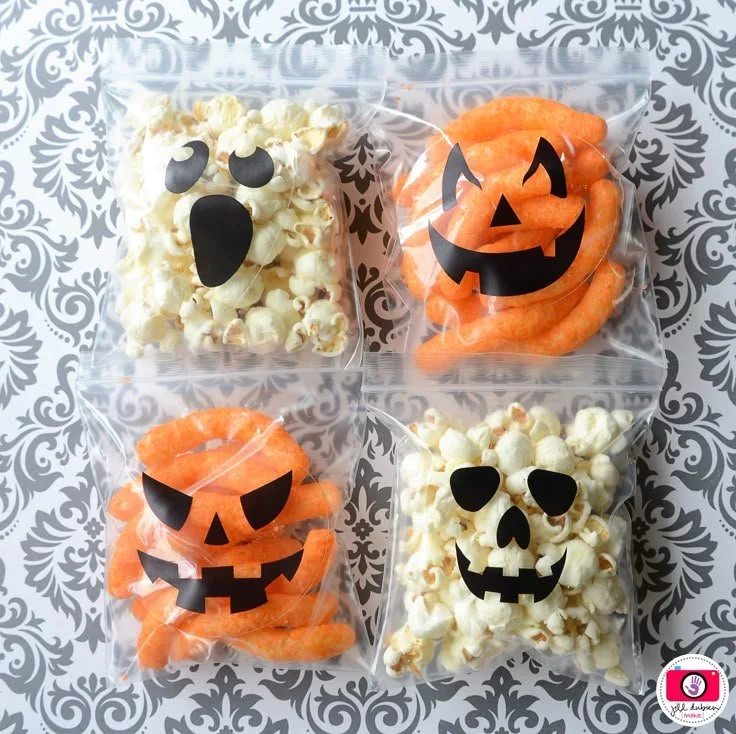
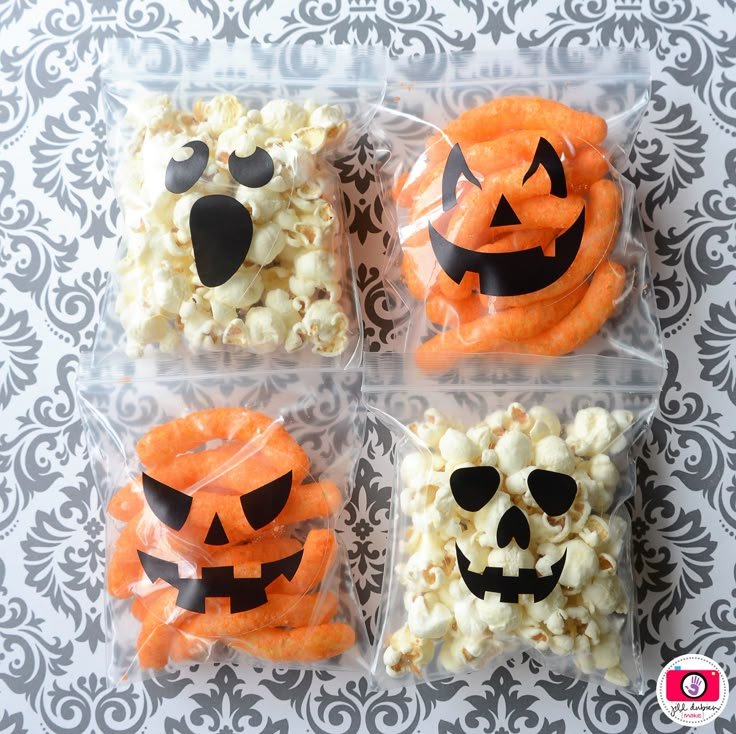
Making Spooky Halloween Treats is a delightful way to celebrate the season while enjoying some fun in the kitchen. These treats not only bring a festive flair to your Halloween festivities but also serve as delicious snacks that both kids and adults will love. With their playful designs and delightful flavors, these treats are worth making for any Halloween gathering.
Why You’ll Love Spooky Halloween Treats
- Creative Fun: These treats allow you to unleash your creativity, decorating them in fun spooky styles that can turn any gathering into a festive celebration.
- Easy to Make: The recipe is straightforward, making it accessible for novice bakers. You won’t need any complicated techniques or fancy equipment.
- Family Friendly: With simple ingredients and engaging activities, this is a great way to involve kids in the kitchen, creating memorable moments together.
- Customizable: You can easily adapt the flavors and decorations to match your preferences or dietary restrictions, making these treats suitable for everyone.
- Great for Parties: These treats are not only delicious but also visually appealing, making them perfect for Halloween parties, school events, or neighborhood gatherings.
Recipe Overview
- Prep Time: 30 minutes
- Cook Time: 15 minutes
- Total Time: 45 minutes
- Servings: 12 – 16 treats
- Difficulty Level: Easy
Ingredients You’ll Need for Spooky Halloween Treats
-
Basic Ingredients:
- 2 cups all-purpose flour
- 1 cup granulated sugar
- 1/2 cup unsalted butter, softened
- 2 large eggs
- 1 teaspoon baking powder
- 1/2 teaspoon salt
- 1 teaspoon vanilla extract
-
For the Spooky Decoration:
- 1 cup white chocolate chips
- 1/2 cup black fondant (for spooky shapes)
- Assorted edible decorations (like sprinkles or candy eyes)
-
Optional Add-ins:
- Food coloring for vibrant colors
- Flavored extracts (like almond or lemon) for unique tastes
How to Make Spooky Halloween Treats
-
Prepare the Oven and Baking Sheets: Preheat your oven to 350°F (175°C). Line two baking sheets with parchment paper for easy clean-up.
-
Mix the Dry Ingredients: In a medium mixing bowl, whisk together the flour, baking powder, and salt. This ensures even distribution of the leavening agent.
-
Cream the Butter and Sugar: In a large mixing bowl, use an electric mixer to beat the softened butter and granulated sugar together until light and fluffy, about 3-5 minutes.
-
Incorporate Eggs and Vanilla: Add the eggs one at a time, beating well after each addition. Then mix in the vanilla extract.
-
Combine Dry and Wet Ingredients: Gradually add the dry ingredient mixture to the butter mixture, mixing until just combined. Be careful not to overmix, as this can affect the texture of your treats.
-
Shape the Treats: Using a cookie scoop or your hands, form small balls of dough and place them on the prepared baking sheets, leaving space in between.
-
Bake: Bake the treats in the preheated oven for 12-15 minutes, or until the edges are lightly golden. Remove them from the oven and let them cool on the baking sheet for 5 minutes before transferring to a wire rack to cool completely.
-
Decorate: Once cooled, melt the white chocolate chips in a microwave-safe bowl, stirring until smooth. Dip the treats in the melted chocolate and place them back on the rack to harden. Use black fondant to create spooky shapes and decorate your treats with edible decorations as desired.
Tips for Success
- Room Temperature Ingredients: Make sure your butter and eggs are at room temperature for a smoother batter.
- Don’t Overmix: To keep your treats light and fluffy, mix until just combined after adding the flour.
- Melting Chocolate: Melt chocolate in short bursts in the microwave, stirring in between, to avoid burning.
- Storage: Keep decorated treats in an airtight container at room temperature; they will stay fresh for up to five days.
Easy Variations
- Flavor Twists: Experiment with different extracts like peppermint for a wintery spin or orange for a citrus kick.
- Chocolate Version: Substitute 1/2 cup of flour with cocoa powder to create chocolate-flavored treats.
- Healthier Options: Use whole wheat flour or coconut sugar for a healthier version.
- Gluten-Free: Replace all-purpose flour with a gluten-free baking blend.
What to Serve with Spooky Halloween Treats
- Hot Apple Cider: The warm spicy flavors complement the sweet treats perfectly, making it a cozy pairing for any Halloween gathering.
- Mini Pumpkin Muffins: Their seasonal flavor resonates well with the spooky theme, creating a diverse dessert spread.
- Ghostly Marshmallow Pops: These fun and easy-to-make treats add to the festive atmosphere while being delicious snacks.
- Decorated Sugar Cookies: Sugar cookies are classic and can also be decorated to match your Halloween theme, adding variety to your treat table.
Storage and Reheating
- Refrigerator Storage: Store any uneaten treats in an airtight container in the refrigerator for up to a week.
- Freezer Storage: You can freeze unbaked dough for up to three months. Portion the dough on a baking sheet, freeze, and then transfer to a zip-top bag until ready to bake.
- Reheating: For leftover baked treats, warm them in the microwave for just a few seconds or enjoy them at room temperature.
Common Mistakes to Avoid
- Not Preheating the Oven: Always preheat your oven to ensure even baking.
- Overbaking: Watch your treats closely; they should be lightly golden and soft when removed from the oven.
- Skipping the Cooling Step: Allowing treats to cool properly ensures they don’t crumble when decorating.
- Too Much Decoration: Go easy on the toppings; a little goes a long way and prevents overpowering the flavor of the treats.
Spooky Halloween Treats: Background & Cultural Inspiration
Spooky Halloween treats trace their origins to ancient traditions and celebrations surrounding the harvest season and the Celtic festival of Samhain. As the festival evolved, it included playful elements that inspired modern-day Halloween celebrations. In the United States, Halloween has transformed into a fun holiday for children and adults alike, marked by trick-or-treating, themed parties, and festive foods. Making themed treats has become a beloved tradition; the playful designs reflect the whimsy of Halloween. The combination of sweet flavors and imaginative decorations creates an inviting atmosphere for celebration.
Frequently Asked Questions
Can I make these treats in advance?
Yes, these treats can be made a day or two in advance. Store them in an airtight container to keep them fresh.
What can I use instead of white chocolate?
You can substitute white chocolate with milk or dark chocolate; just adjust the melting technique to suit the chocolate type.
How do I store leftover treats?
Store leftover treats in an airtight container at room temperature for up to five days, or refrigerate for up to a week.
Are these treats suitable for gluten-free diets?
Yes, you can easily make them gluten-free by using a gluten-free all-purpose flour blend.
Can I omit the fondant?
Absolutely! While fondant adds a fun spooky element, you can use additional sprinkles or make icing instead for decoration.
Final Thoughts
Making Spooky Halloween Treats is a fun and rewarding activity that brings joy and creativity to your Halloween celebrations. These easy-to-make snacks are customizable and perfect for sharing with family and friends. Give this recipe a try, and watch as your Halloween festivities come to life with sweetness and imagination. Enjoy baking and celebrating the spooky season!
PrintSpooky Halloween Treats
Delightful treats to celebrate Halloween with fun decorations and delicious flavors.
- Prep Time: 30 minutes
- Cook Time: 15 minutes
- Total Time: 45 minutes
- Yield: 12-16 treats
- Category: Dessert
- Method: Baking
- Cuisine: American
- Diet: Vegetarian
Ingredients
- 2 cups all-purpose flour
- 1 cup granulated sugar
- 1/2 cup unsalted butter, softened
- 2 large eggs
- 1 teaspoon baking powder
- 1/2 teaspoon salt
- 1 teaspoon vanilla extract
- 1 cup white chocolate chips
- 1/2 cup black fondant (for spooky shapes)
- Assorted edible decorations (like sprinkles or candy eyes)
- Food coloring (optional)
- Flavored extracts (optional)
Instructions
- Prepare the oven and baking sheets: Preheat your oven to 350°F (175°C) and line two baking sheets with parchment paper.
- Mix the dry ingredients: In a medium bowl, whisk together flour, baking powder, and salt.
- Cream the butter and sugar: In a large bowl, beat softened butter and granulated sugar until light and fluffy for about 3-5 minutes.
- Incorporate eggs and vanilla: Add eggs one at a time, beating well after each, then mix in vanilla extract.
- Combine dry and wet ingredients: Gradually mix the dry ingredients into the butter mixture until just combined.
- Shape the treats: Form small balls of dough and place on the prepared baking sheets, leaving space in between.
- Bake: Bake for 12-15 minutes or until lightly golden, then cool on the baking sheet for 5 minutes before transferring to a wire rack.
- Decorate: Once cooled, melt white chocolate chips, dip treats, and decorate with fondant and edible decorations.
Notes
Store decorated treats in an airtight container at room temperature for up to five days. Can be made in advance.